
")

_web")


_web")

")

")
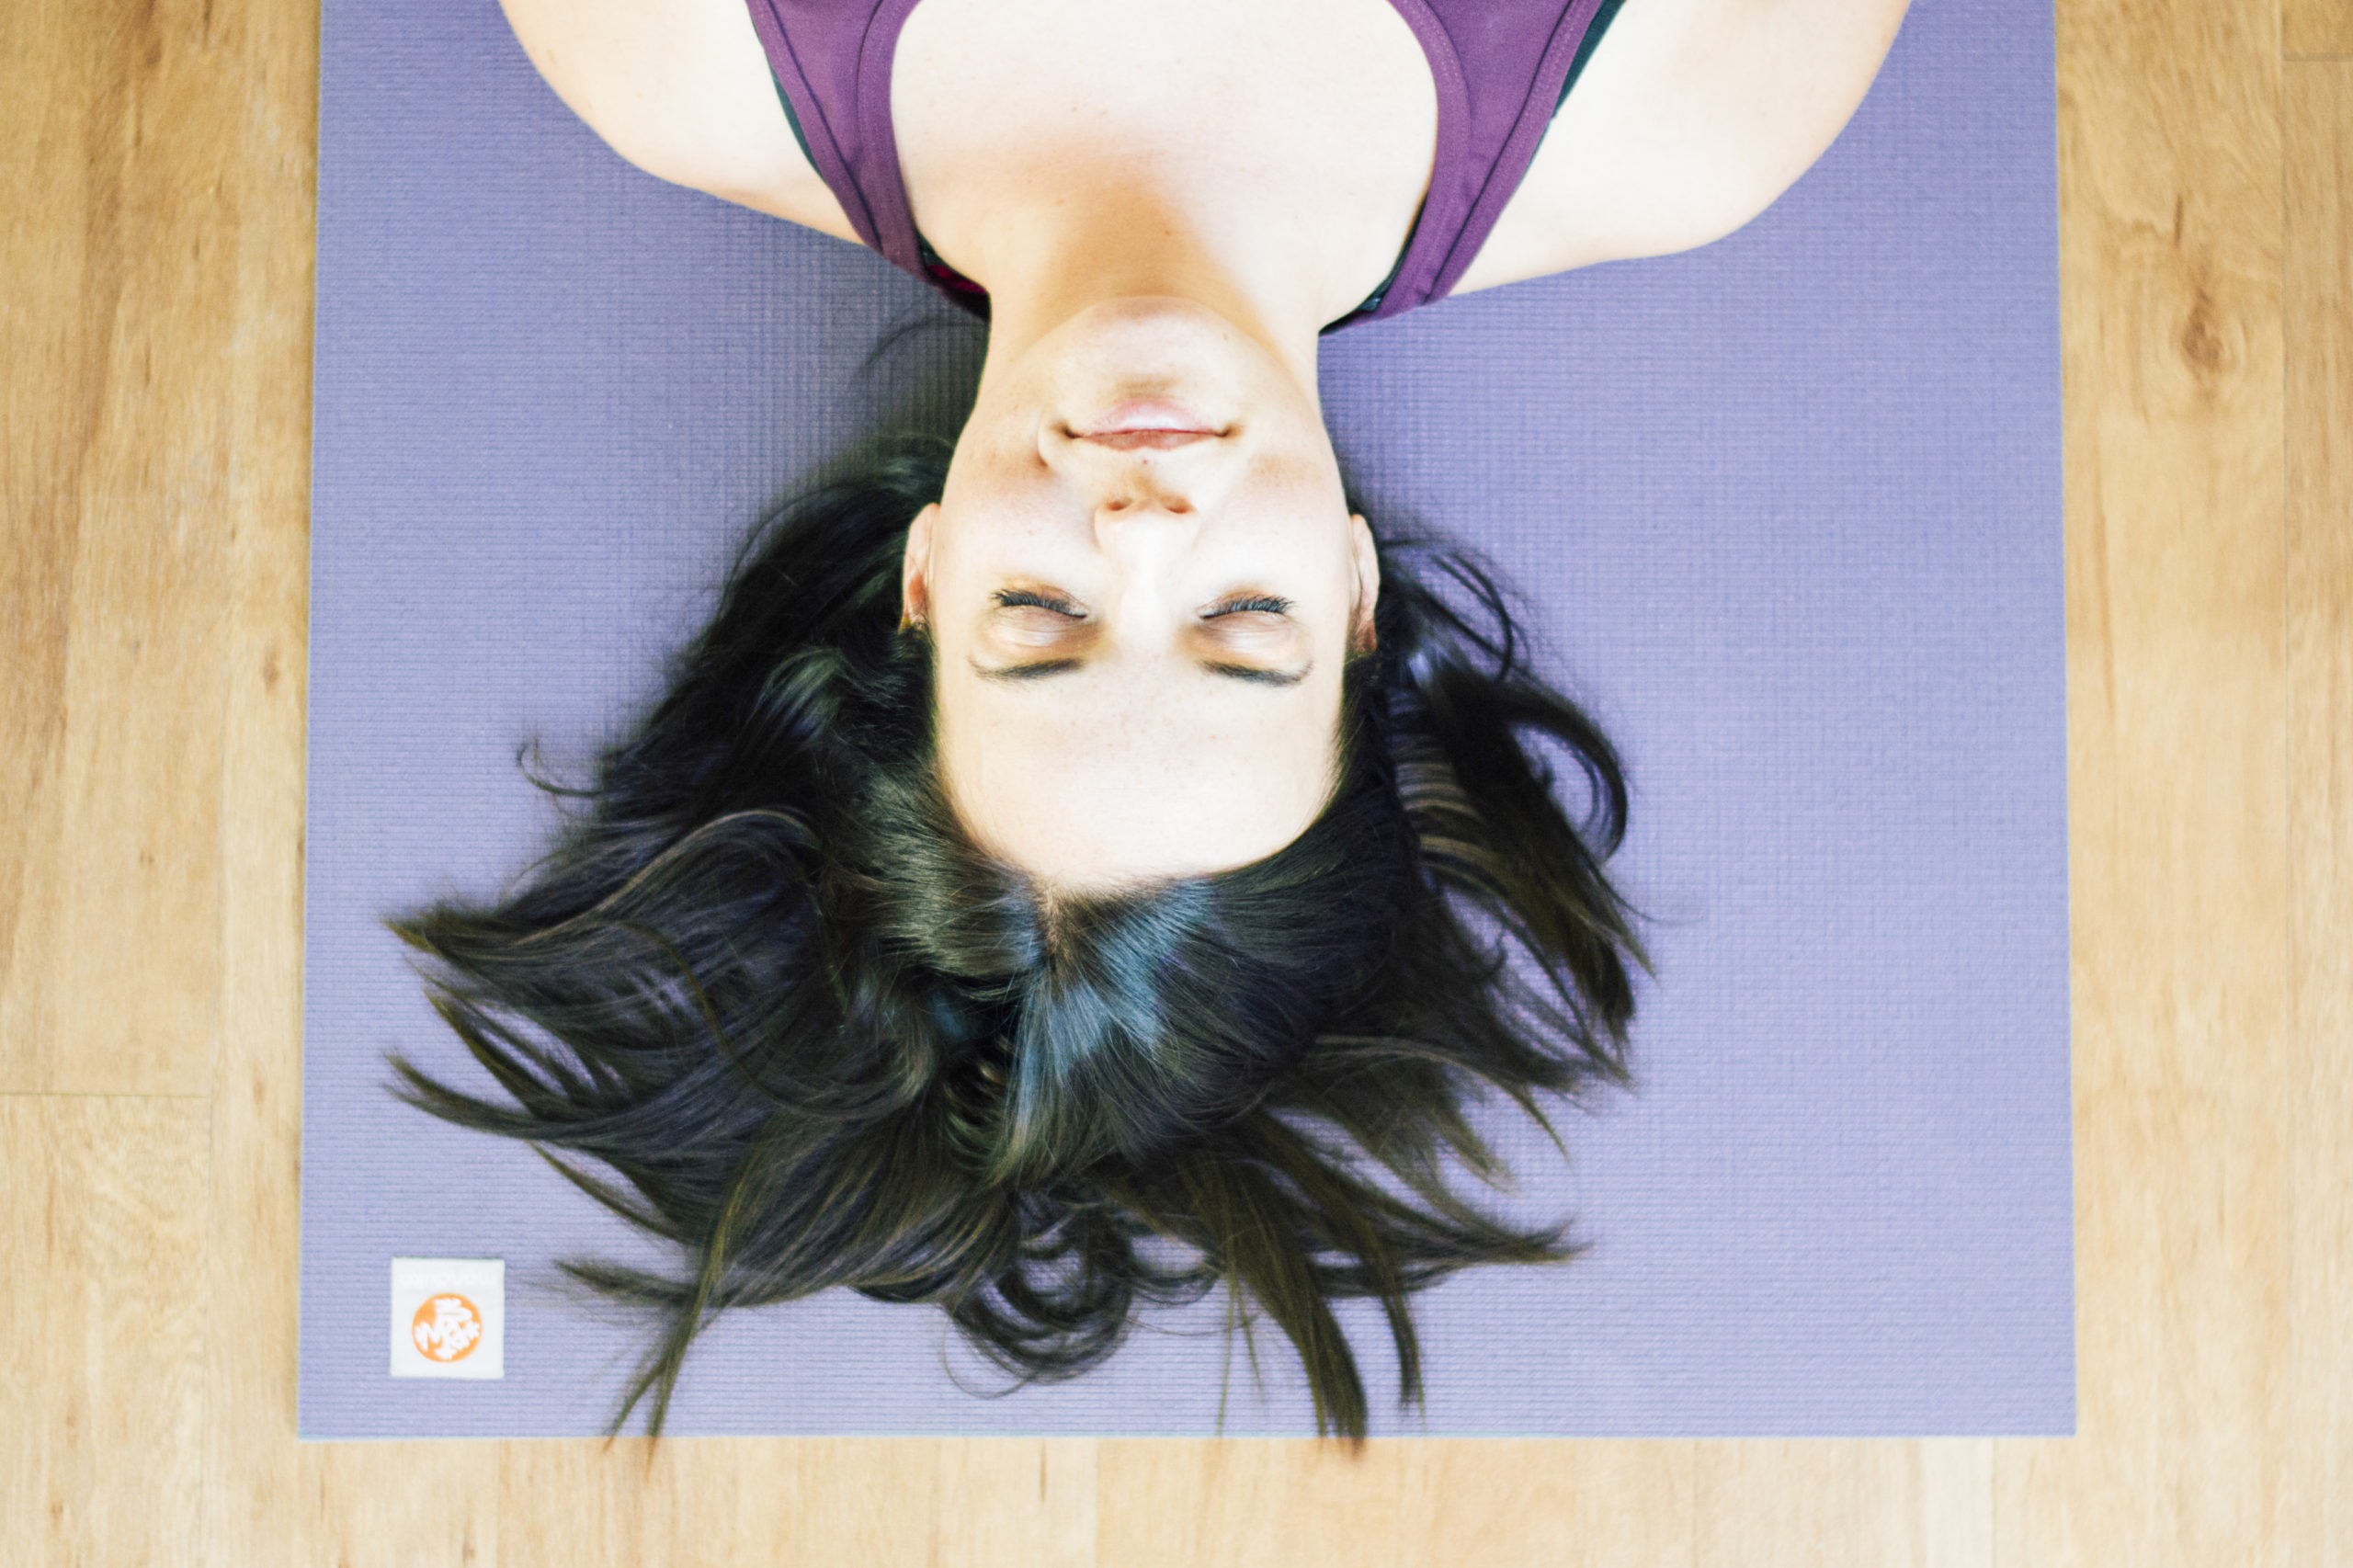
I’m not quite starting at the beginning, but if you’ve only been to one yoga class in your whole life, chances are, you did Savasana or Corpse Pose. And with the free meditation you received by signing up, I thought it would be appropriate to talk about that pose right away.
“To enter this state, we practice a kind of conscious dying, a letting go of the things that make us feel armored and separate and, thus that cause us to suffer and to accumulate tension.”
– Donna Farhi
Let’s start with a little knowledge!
Pronunciation: shah-VAHS-anna
Sanskrit translation : sava = corpse, asana = pose
Other name: Mrtasana (Mrta = death)
Level: 1. Literally, anyone can do that pose. Physically, if you can lay down to sleep, you can do Savasana. It’s when we get into the mental aspects of the pose, that things can get a little more “advanced”, a little more demanding, a little more complicated.
Props: Savasana can be done with nothing at all. To enhance the practice, putting something over the eyes to cut the light, helps to relax. You can use a dark cloth, a towel, or an eye pillow. If you’ve never tried an eye pillow before, I strongly recommend you do! If you have yoga blankets or bolsters, they can also be useful. We’ll get to that in the setup.
Why do we do Savasana: It’s one of the rare moments in life where you can just be and not do anything. See all the other benefits at the end.
How do I get into it?
Ok, so now that we are all on the same page, let’s talk about setup! Some teachers will simply say, lay down for Savasana. I’m gonna try to give you a little more details even if technically, you could just lay on the floor and be done with it.
There are many variations of the pose, so don’t get hung up on the details. Maybe your favorite teacher does it differently. This is how I like to teach it.
- From a sitting position, lay down on the floor, keeping the knees bent for now.
- Lift your pelvis slightly off the floor and, with your hands, push the buttocks flesh towards the back of the knees so the back of the pelvis moves toward the tailbone, then release the pelvis to the floor. If you still feel any discomfort in the lower back, a rolled-up blanket under the knees or a bolster will help release the tension.
- Extend one leg at a time with an inhale.
- Open the legs just wider than the hips letting the feet turn out naturally releasing the groin.
- With your hands, lift your head from the base of the skull then put your head down so the chin and forehead are at the same height. If this is hard or uncomfortable, and your chin is higher than the forehead, you can use a blanket to support the head. Place it at the base of the skull, not at the base of the neck.
- Here is the trickiest part of the set up. The end goal is to open the arms alongside your body at an even distance from the torso with the palms facing up with the hands resting on the same knuckle. If you do that without any more instructions it’s already great. If you want to refine the position of the shoulders, here’s how: Reach your arms toward the ceiling, palms facing each other. Rock from side to side and broaden the back ribs and the shoulder blades away from the spine. From here, in a circular motion toward the back of the room, bring the arms all around until they can release to the floor, angled evenly, palms facing up. With that movement, your shoulder blades rotated down and in towards the spine. From here, make sure the shoulder blades are resting evenly on the floor and spread the collarbones.
- Scan your body from the crown of the head to the heels, aligning anything that is not neutral. Both ears are at an even distance from the floor. The head, neck, and shoulders are in one line with both shoulders at an even distance from the ears. You have the same amount of weight on each shoulder blade and the arms are evenly opened. Your spine is long and straight. Your weight is spread evenly through your hips onto the floor. Your legs are also evenly opened and the calves and ankles touch the floor with the same weight.
*Modification: If you have a back injury and you feel great discomfort, keep the knees bend. If you’re pregnant, raise your head and chest on a bolster and a block.
Once you get the hang of it, it only takes a few seconds to set up!
I’m in Savasana. Now what?
Now that the body is still and calm, go to the muscles and organs.
Start at the head. Relax the muscles of your forehead, letting the eyebrows move away from each other. Relax the muscles around the eyes, letting the eyeballs roll back into their socket. Relax the muscles around your mouth letting the teeth part and the tongue softly release to the back of the throat. Let the skin drape over your face and imagine your brain releasing to the back of your skull. Soften all your senses. Keep going down the body noticing each part. With each exhale, let your muscles be heavy and sink deeper into the floor.
Maybe this is a challenge. There are many reasons possible. Here are two: You haven’t worked hard enough during practice to feel a release from day-to-day stress or you have worked too hard so your body is aching and too tense. With those or other reasons, staying still and relaxing can be hard. Use the breath to encourage the body to let go. Count as you inhale and exhale. Each round, add one count reaching your longest, calm and comfortable breath. Keep that long, deep breath for ten rounds.
Ok, my body is still, my muscles and senses are relaxed, but my mind is racing.
Well. This is the more “advanced”, demanding and complicated part of the pose that I was talking about.
In that case too, focusing on the breath will help you quiet your mind. Any time you find yourself thinking of something. Let the thought go by like a cloud in the sky without giving it any importance. Then come back to your breath and tell yourself: Welcome back. With time, you want to let go of the breath and let your body do the work. Using something to cover the eyes also helps here. As you block the light, you eliminate visual stimulation. Otherwise, you can always do guided meditations.
What if I leave yoga class right before the end?
Maybe you want to avoid Savasana because you struggle with the quiet and stillness, maybe you think it’s actually a waste of your time, maybe you really need to leave early today.
Let’s start with the last scenario. You actually can’t stay until the end and chose to come to class to get what you could. My suggestion would be to place your mat close to the door and advise the teacher before class. And from there, when you know you have to leave soon, do a small Savasana on your own. That way, you take a moment to close your practice, get ready to go back into the world, let the body integrate the benefits of the practice…
The two other scenarios are a different story. Whatever the excuse you give yourself, you’re avoiding this pose, but you should really give it a try. When we push ourselves to do something that we are uncomfortable with, we transform ourselves. There’s also this saying: The yoga pose you avoid is the yoga pose you need. Food for thought.
Last but not least, don’t miss out on all the benefits of Savasana:
- Restores the nervous system, calms the brain, and helps relieve stress and mild depression
- Relaxes the body and brings it back to neutral (heart rate, blood pressure, muscular tension and body temperature to come back to a normal level)
- Reduces headaches, fatigue, and insomnia
- Helps to lower blood pressure
- Improves self-confidence, focus, memory and concentration
- Lets the body integrate all the benefits of the practice
- Gives us a chance to simply be and not have to do anything
- Practices quieting the mind for more difficult poses
- It’s easier on the body than sitting meditation
OK! That’s it. Hope you enjoy your next Savasana!
♥
Disclaimer: Always consult your physician before beginning any exercise program. If you experience any pain or difficulty with these exercises, stop and consult your healthcare provider right away.
Images are taken from google.

_web")


+ show Comments
- Hide Comments
add a comment